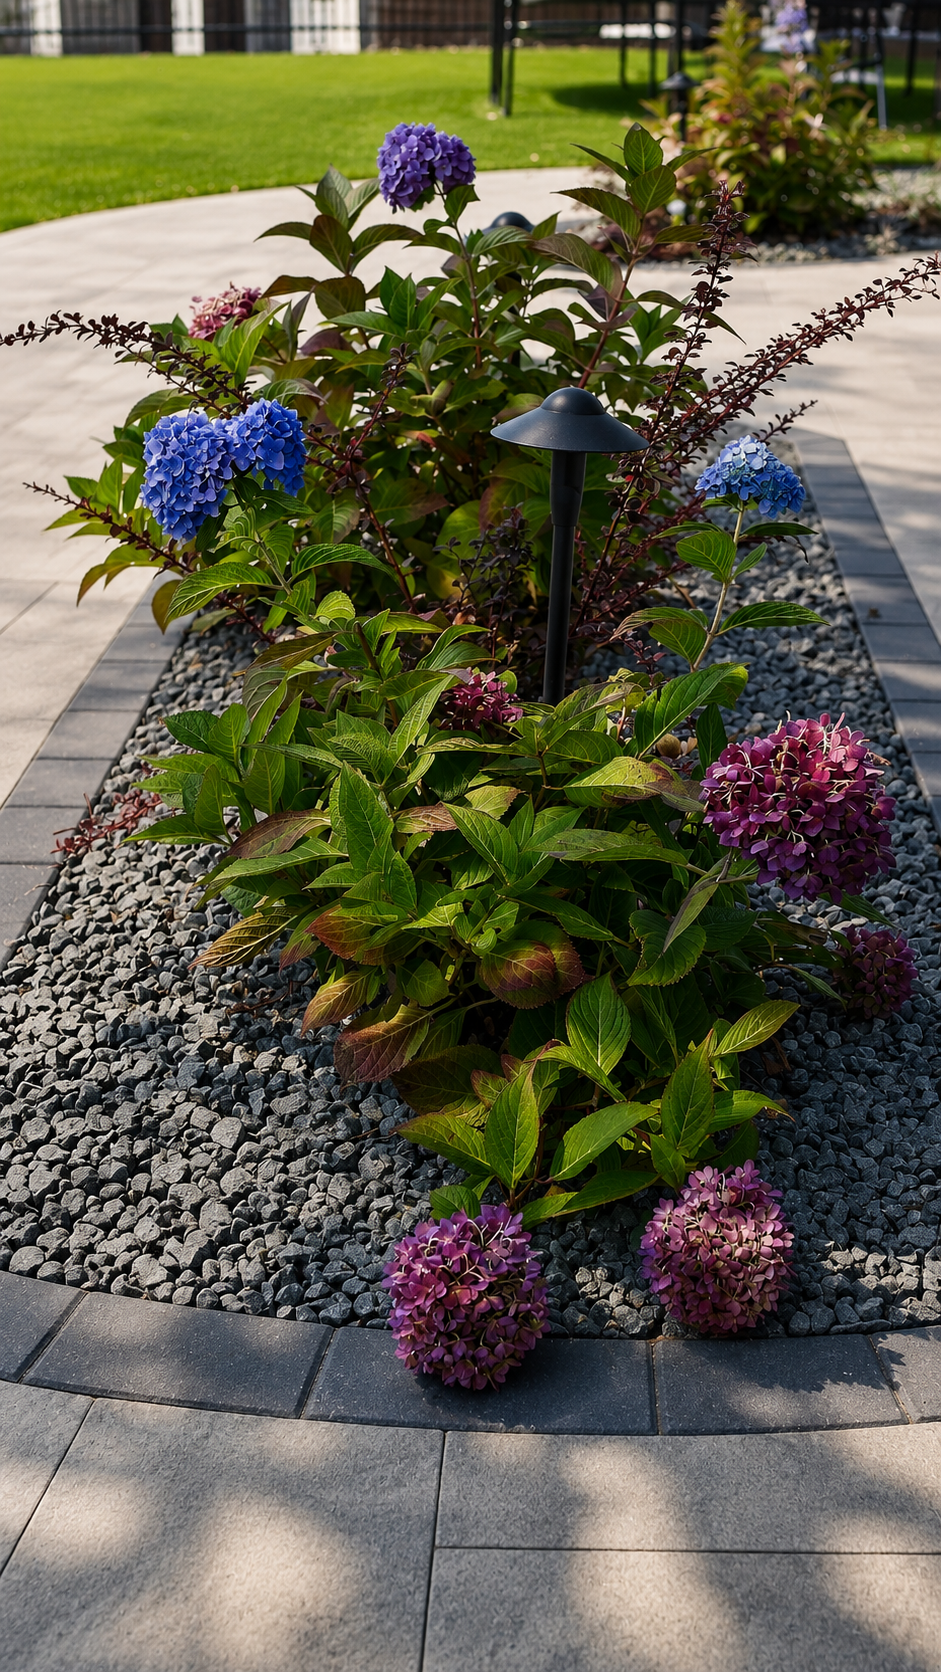
Post-Install Care Basics for Your New Landscape
Once your new patio, pathway, planting bed, or water feature is installed, a few simple habits in the first season make the biggest difference in how it looks and performs for years to come. Kalagan Outdoor Design builds your landscape, but we do not offer ongoing maintenance — so this guide walks you through the basic self-care tasks worth knowing from day one.
Why the First Year Matters Most
Every hardscape and planting installation goes through a “settling in” period. Soil compacts, joint sand shifts, and new root systems push out into surrounding soil for the first time. None of this means anything went wrong with the build — it is simply how new landscapes behave. The good news is that the care involved is straightforward and doesn’t require specialized tools or ongoing professional visits. It just requires knowing what to look for and when.
Watering New Plantings
Newly installed trees, shrubs, and perennials have a limited root zone compared to what they’ll eventually grow into, which means they can’t yet pull moisture from a wide area of soil. In the Okanagan’s dry summer climate, that makes consistent watering during the first one to two growing seasons the single most important thing a homeowner can do for plant survival.
As a general guideline, new plantings typically need deep watering two to three times per week through the hottest months, rather than a quick daily sprinkle. Deep, less-frequent watering encourages roots to grow downward and outward in search of moisture, which builds a stronger, more drought-tolerant plant over time. Shallow, frequent watering does the opposite — it keeps roots near the surface where they dry out fastest. A simple check is to push a finger a couple of inches into the soil near the root ball; if it’s dry at that depth, it’s time to water. Adjust for rainfall, and taper off frequency as plants establish going into their second season.
If your project included xeriscaping or drought-tolerant plant selections, watering needs will be lower once established, but the same establishment-period principle still applies — even low-water plants need consistent moisture while their root systems are developing.
Paver Joint Sand Top-Up
Paver patios, driveways, and pathways rely on jointing sand between each unit to lock the pavers together and keep them from shifting. It’s normal for this sand to settle slightly over the first year as the base compacts and the joints see foot or vehicle traffic, wind, and rain. You may notice small gaps appearing between pavers, especially along high-traffic paths or areas where water runoff is concentrated.
Topping up joint sand is a simple task: sweep polymeric or regular jointing sand into the gaps, compact it lightly, and remove excess from the paver surface. Doing this once during the first year, and then periodically as needed afterward, keeps the surface interlocked and helps prevent weed growth and ant activity in the joints. It’s worth inspecting your paver surfaces each spring for any joints that have opened up, particularly after winter freeze-thaw cycles.
Winterizing a Water Feature
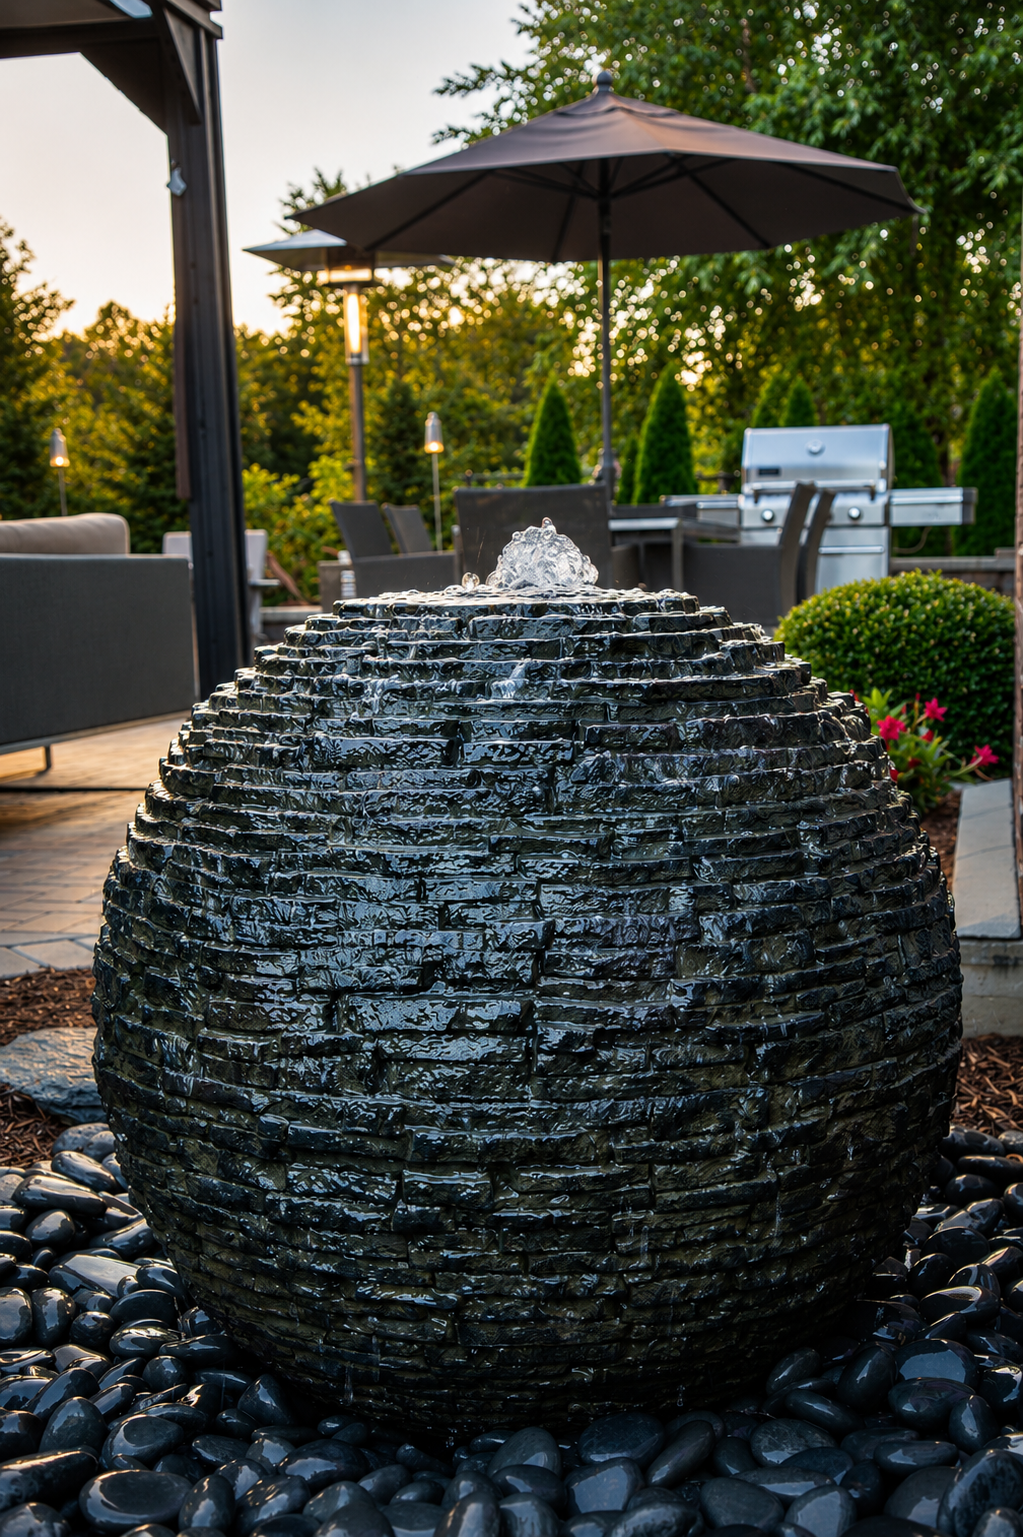
If your landscape includes a water feature or recreational pond, proper shutdown before winter is essential in our climate. Water left running or sitting in exposed lines, pumps, or shallow basins can freeze and cause cracking or damage to components. Basic winterizing generally involves shutting down and removing pumps, clearing debris from the basin, and protecting exposed plumbing from freeze damage before overnight temperatures consistently drop below freezing in the fall.
The specific steps depend on the type of feature you have, so it’s worth reviewing the care instructions specific to your installation. The goal is simply to make sure no water is left where it can freeze and expand against a hard surface or mechanical part.
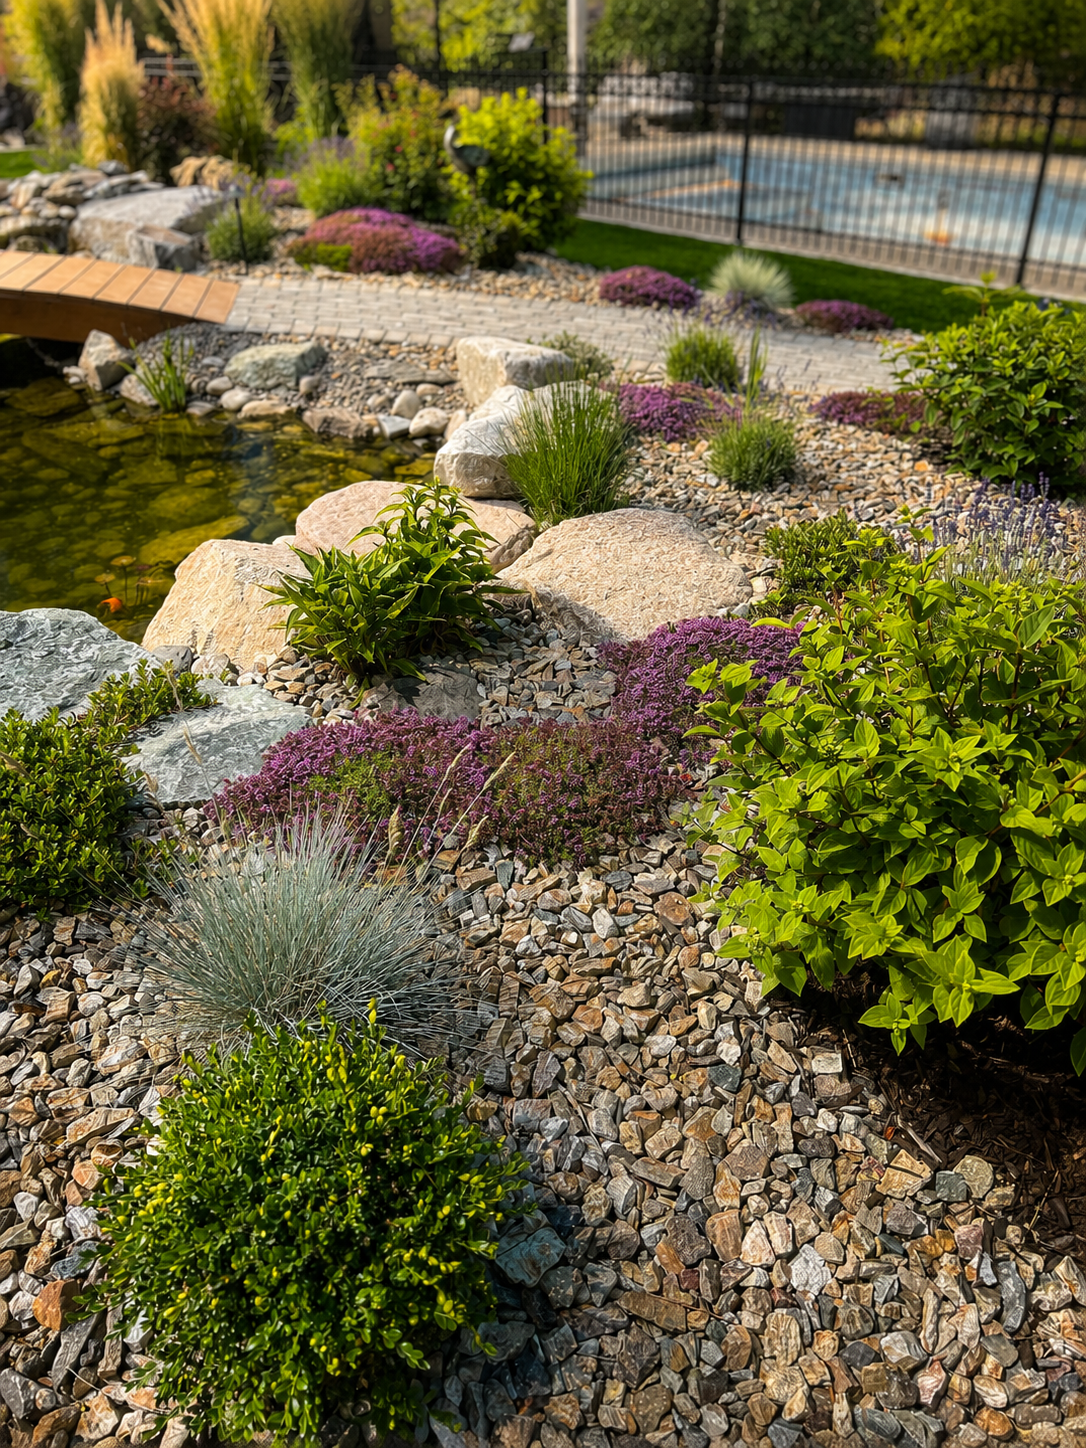
A finished planting bed by Kalagan Outdoor Design
Okanagan-Specific Factors for Planting & Xeriscape Design
The Okanagan’s climate creates two distinct pressures on a new landscape. Summers are hot and dry, which is why establishment-period watering matters so much more here than in a coastal climate — new root systems simply don’t have long to adjust before facing weeks of heat and low rainfall. Winters bring hard freezes and repeated freeze-thaw cycles, which is what drives both the paver joint settling you’ll see in year one and the urgency around shutting down water features before the first deep freeze. Homeowners who get ahead of both of these seasonal swings tend to see far less wear on their new landscape than those who wait until a problem shows up.

For a full seasonal routine beyond these basics, see our Spring Landscape Prep Checklist for the Okanagan and Fall Landscape Prep: Protecting Hardscape Through Winter, which cover hardscape protection in more depth. If you’re still in the planning stages of a project, When to Start Planning a Landscape Project in the Okanagan is a useful starting point. You can also learn more about our water features and paver patios & driveways design-build services.
Planning a New Landscape Project?
Let’s talk through your design and build options for a landscape that’s built to handle the Okanagan seasons.
Book a Consultation →