The Design-Build Timeline Explained
A design-build project moves through five distinct stages: consultation, design, 3D review, permitting where applicable, and construction, followed by a final walkthrough. Understanding what happens at each stage — and why the order matters — helps you plan your season and know what to expect before you sign anything.
Stage 1: Initial Consultation
Every project starts with a conversation, not a quote. A designer walks the property with you to understand how you actually use the space, where the sun and drainage patterns fall, what’s already working, and what’s not. This is also where budget range, priorities, and rough scope get discussed honestly — so the design that follows is grounded in what’s realistic for the site and the investment, rather than a concept that gets rebuilt later.
If the property backs onto a lake, sits on a slope, or borders a wooded lot, this is also when early flags around permitting or setback requirements get noted, so they can be planned for rather than discovered mid-project.
Stage 2: 3D Design Development
Rather than sketches or mood boards, Kalagan builds a full 3D model of the proposed design — grading, hardscape materials, plantings, lighting, and structures all placed to scale on your actual property. This stage is where the real decisions get made: patio dimensions, wall heights, path routing, and how everything ties together. Because it’s a true 3D model, you’re not left guessing how a rendering will translate into real dimensions on site.
For a closer look at how 2D plans, 3D renderings, and Oculus Quest walkthroughs compare, see our guide on 2D vs 3D vs Oculus Quest Design.
Stage 3: Design Review (In Person or Oculus Quest)
Once the 3D model is built, you review it — either on screen or, for larger projects, by putting on an Oculus Quest headset and walking through the design at full scale before a single yard of material moves. This is the stage where revisions happen: adjusting a patio shape, swapping a paver colour, moving a fire feature a few feet. Catching these changes here, on a model, is dramatically simpler and cheaper than catching them after excavation has started.
This step also finalizes material selections and the overall scope, which becomes the basis for the fixed proposal and construction schedule.
Stage 4: Permitting (Where Applicable)
Not every project needs a permit, but several common ones do — taller retaining walls, anything near a lakeshore or foreshore, and work within a strata or HOA-governed property are the situations that come up most often in the Okanagan. Where permitting applies, we help clients navigate the submission and approval process with the relevant municipality or agency as part of the design-build engagement, rather than leaving you to sort it out separately. This is generally how it plays out: the finalized 3D design gives the local authority a clear, dimensioned picture of exactly what’s being built, which tends to move approvals along more smoothly than a rough sketch would.
If your project involves a retaining wall, a waterfront lot, or a strata property, it’s worth reading our pages on retaining wall engineering permits, foreshore and shoreline permits, and HOA and strata guidelines to understand what tends to be involved before design finalizes.
Stage 5: Construction
With the design locked and any required approvals in hand, the build crew takes over. Because the scope was finalized during the design and review stages rather than figured out on the fly, construction tends to proceed in a predictable sequence: excavation and grading, base and drainage work, hardscape installation, structures and features, then planting and lighting last. Larger or multi-phase projects — a pool, an outdoor kitchen, and a retaining wall on the same lot, for instance — are sequenced so that each trade’s work protects rather than damages what came before it.
Throughout construction, the original 3D model stays the shared reference point for the crew, so what gets built matches what you approved.
Stage 6: Final Walkthrough
Once construction wraps, we walk the finished space with you against the original design to confirm everything was delivered as planned — grading and drainage, hardscape lines and finishes, lighting placement, and plant health. This is your opportunity to ask questions about how features work and flag anything before final sign-off.
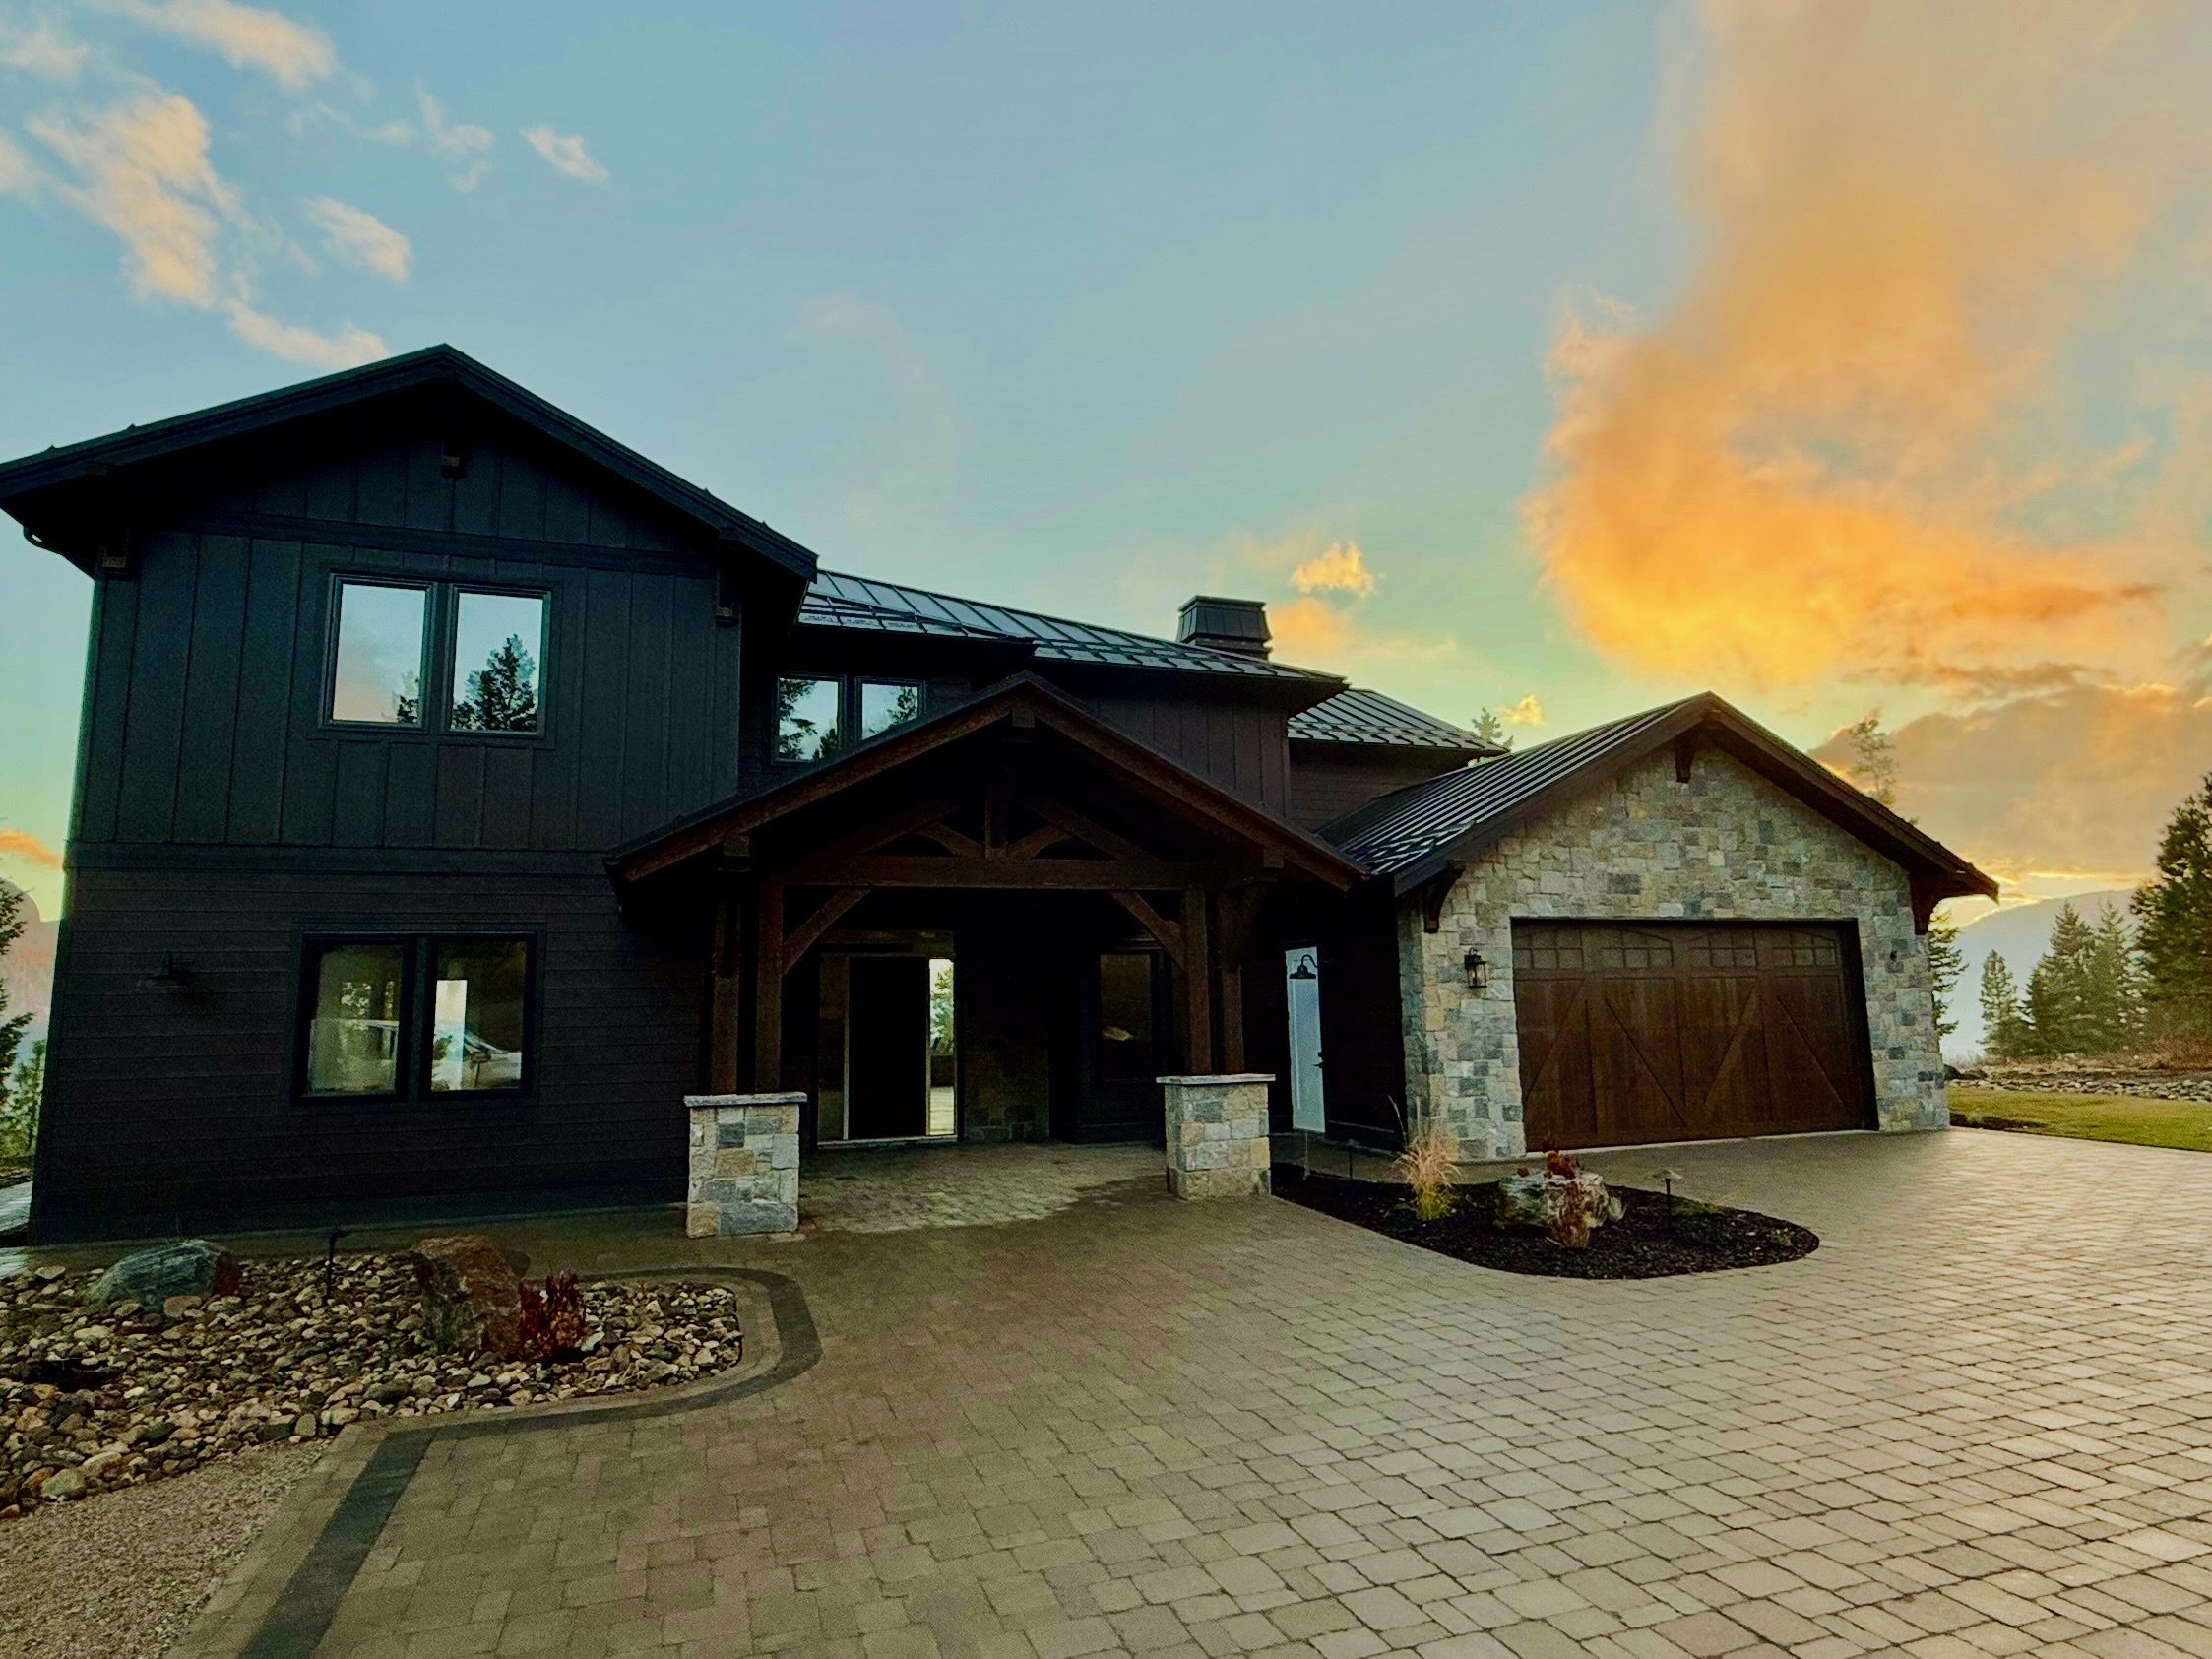
A completed paver hardscape build by Kalagan Outdoor Design
Okanagan-Specific Factors for Paver Patios & Driveways
A few regional realities shape how this timeline plays out here. The Okanagan’s short building season means the design and permitting stages ideally happen in late winter or early spring, so construction can start as soon as ground conditions allow and take advantage of the full outdoor season. Properties on slopes above Okanagan Lake, Kalamalka Lake, or Wood Lake often carry both grading complexity and shoreline or foreshore considerations, which is why permitting is treated as its own stage rather than an afterthought. And in wildfire-interface communities around Vernon, Coldstream, and Lumby, FireSmart considerations are sometimes folded into the design stage from the start rather than added on later — see our Lumby FireSmart Redesign case study for an example of how that looks in practice.
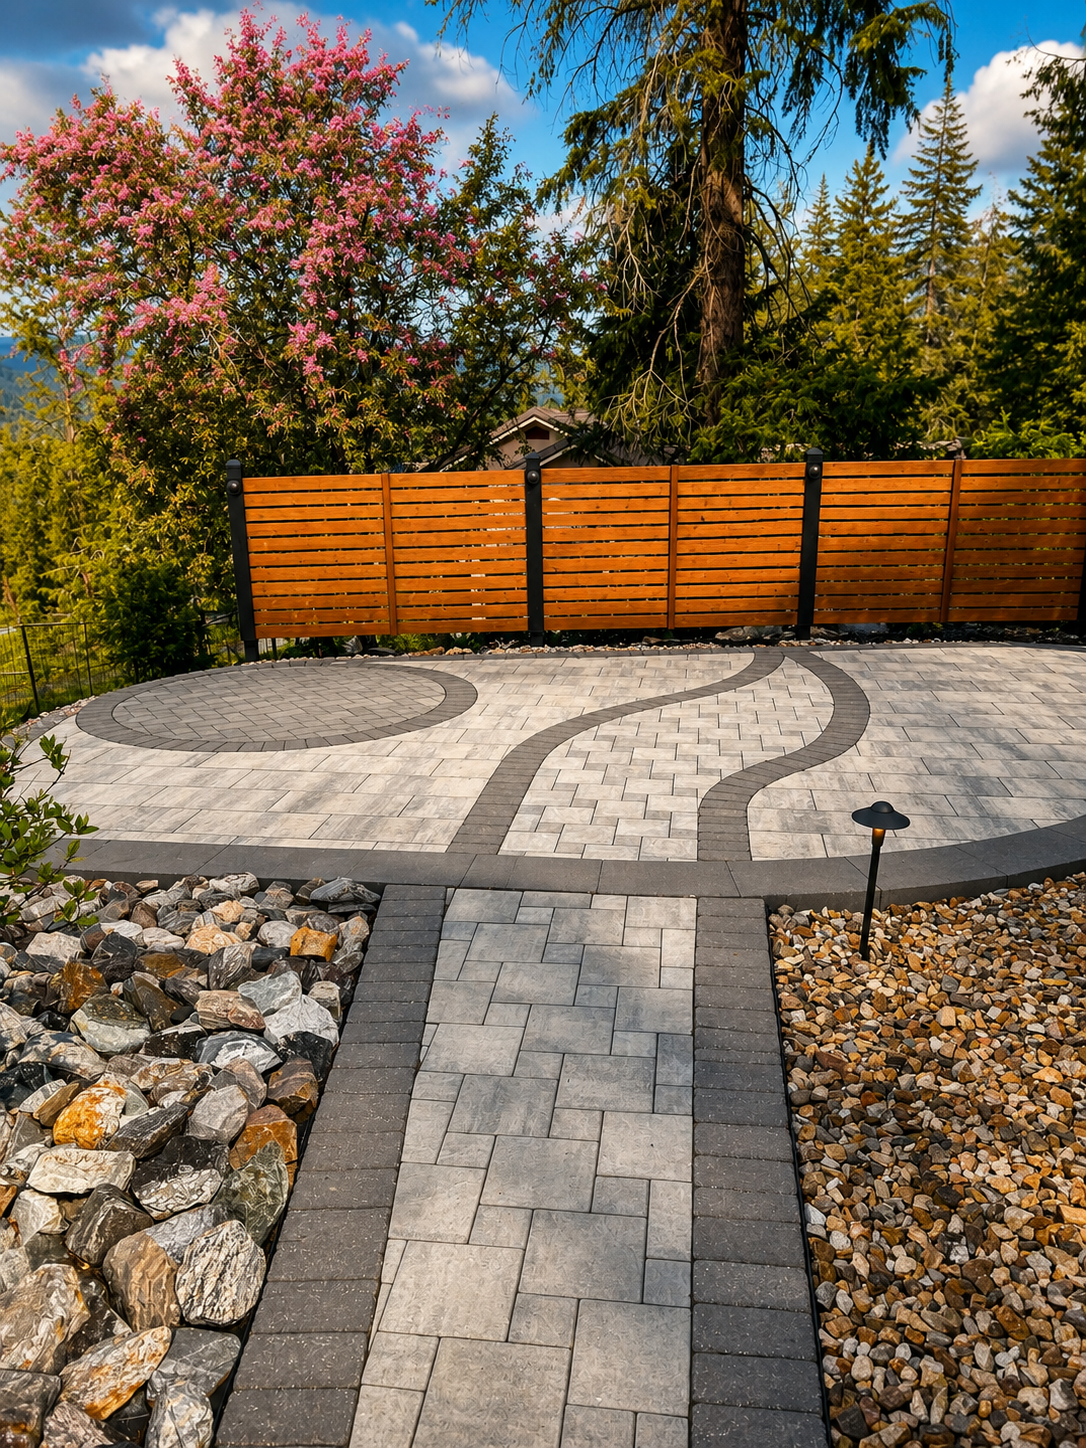
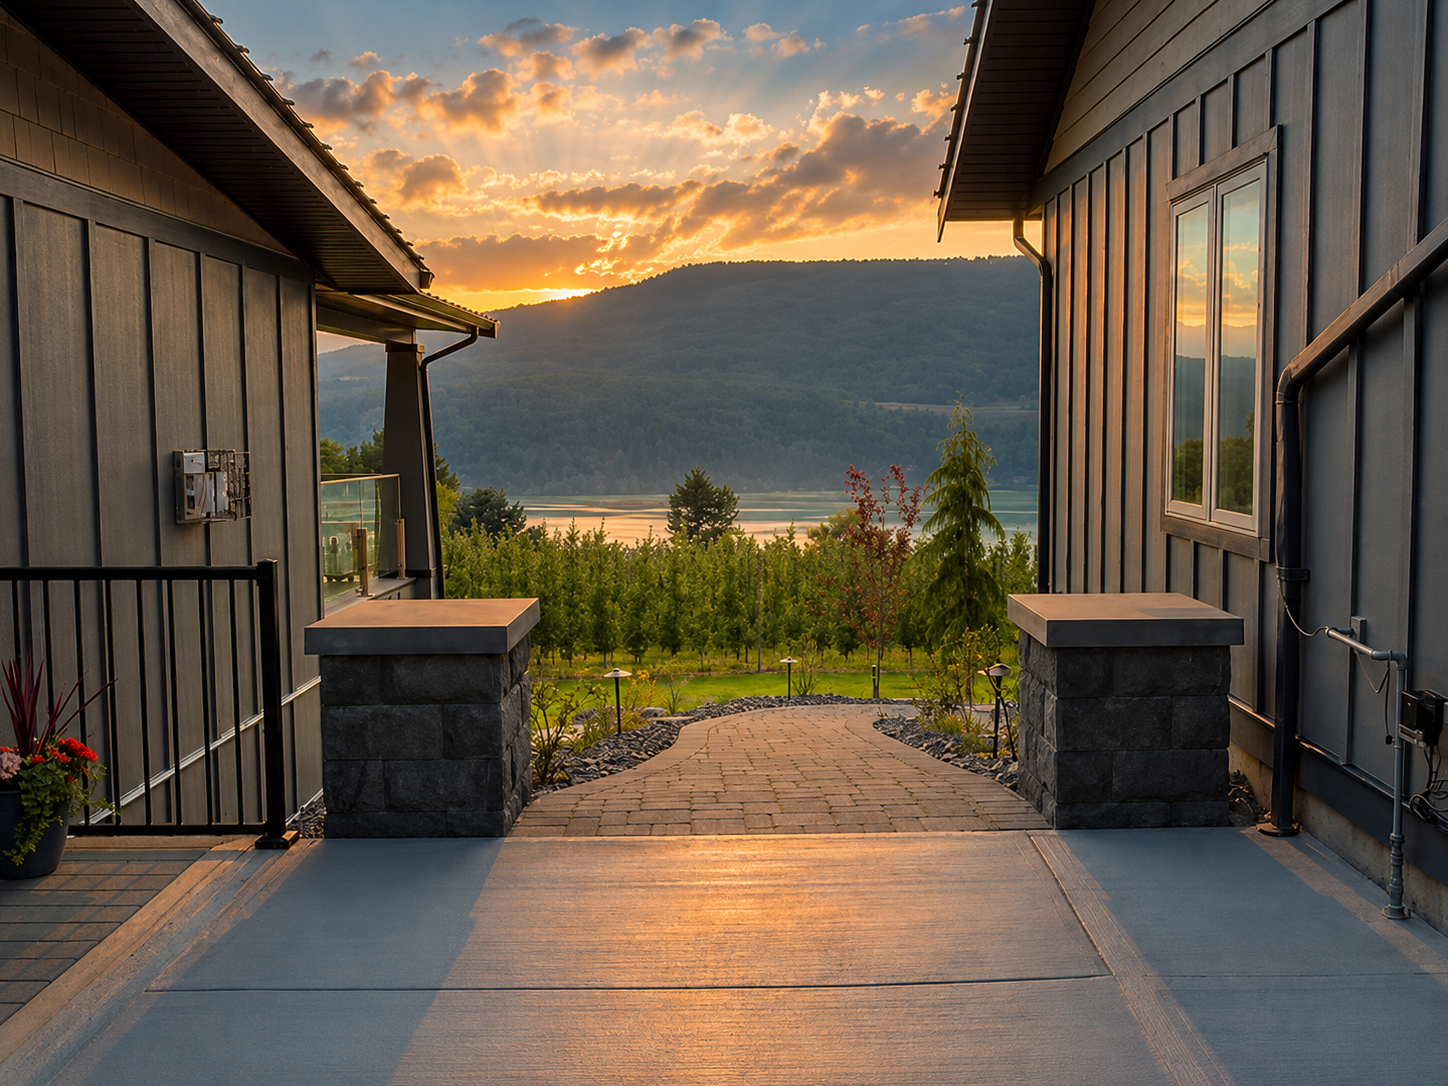
If you’re still in the planning stages, our guide on when to start planning a landscape project in the Okanagan covers how far ahead of construction to begin Stage 1. To see how the design phase itself works in more detail, visit our 3D Landscape Design service page, and for properties that will need approvals along the way, our Permit & Regulation Handling page outlines how that support fits into the process.
Ready to Start Stage 1?
Book a consultation to walk your property with a designer and find out what your project’s timeline could look like.
Book a Consultation →